

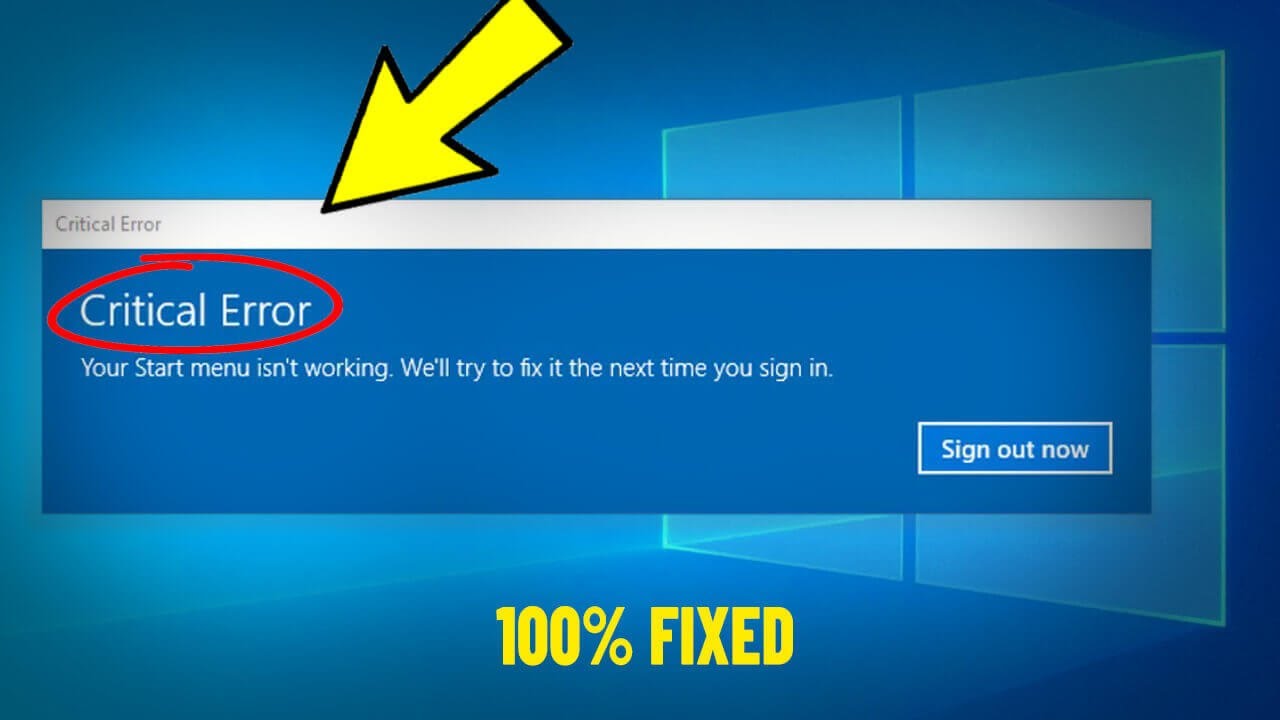
To fix “Critical Error: Your Start Menu Isn’t Working,” restart Windows Explorer through Task Manager first. If that does not resolve it, run SFC and DISM scans in an elevated Command Prompt to repair corrupted system files. For persistent issues, re-register the Start Menu package using PowerShell or create a new user profile.
What does “Critical Error: Your Start Menu Isn’t Working” actually mean in Windows 10 and 11?
This error means the Windows Shell process that manages the Start Menu, Taskbar, and Action Center has crashed or become corrupted. It is one of the most common Windows 10 bugs and still appears on Windows 11 after major updates.
The error typically appears after a Windows Update, a driver installation, or when third-party software interferes with shell components. It does not mean your files are at risk—but it does block you from accessing apps, search, and power options through the Start Menu.
Which versions of Windows are most affected?
- Windows 10 1803–22H2: Most reported cases exist in this range, especially after cumulative updates.
- Windows 11 21H2–23H2: Less frequent but still triggered by ShellExperienceHost corruption or failed feature updates.
- Windows 8.1: Older users may see a similar Start Menu failure, though the exact error text differs.
What is actually breaking behind the scenes?
The Start Menu in Windows is powered by shell packages registered in the system. When these packages become unregistered, damaged, or blocked by security software, the shell cannot load the Start Menu surface and throws this critical error.
Corrupted user profile data, broken AppX registrations, or interference from antivirus shell extensions are the three most common root causes seen in real troubleshooting scenarios.
How do I fix the critical Start Menu error by restarting Windows Explorer?
Restarting Windows Explorer is the fastest fix and works in about 30 percent of cases. It forces the shell process to reload, which often clears a temporary crash loop without any deeper repair.
Steps to restart Windows Explorer via Task Manager
- Press Ctrl + Shift + Esc to open Task Manager. If Task Manager does not open, press Ctrl + Alt + Delete and select Task Manager from the security screen.
- Click More details at the bottom if Task Manager is in compact mode.
- Scroll down the process list and find Windows Explorer.
- Right-click it and select Restart.
- Wait 10 to 15 seconds for the Taskbar and Start Menu to reload.
If the Start Menu works after this step, note that this is a temporary band-aid. The root cause—usually a corrupted update or shell package—will likely return after the next reboot.
When this fix does not work
- Windows Explorer is not listed in Task Manager—this points to a deeper shell registration problem.
- The Start Menu reappears but immediately crashes again—this means corrupted AppX packages are the culprit.
- Task Manager itself will not open—this signals broader system corruption that requires DISM repair.
How do I fix the Start Menu critical error with SFC and DISM scans?
Running SFC and DISM together repairs corrupted Windows system files and component store damage, which are responsible for roughly half of all Start Menu critical errors. DISM must run first if the system is severely damaged, because SFC depends on a healthy component store.
Step-by-step: Running DISM and SFC correctly
- Press Ctrl + Alt + Delete and select Task Manager.
- Click File, then Run new task.
- Type cmd and check the box for Create this task with administrative privileges.
- In the Command Prompt, run:
DISM /Online /Cleanup-Image /RestoreHealth. Wait for it to reach 100 percent—this can take 15 to 30 minutes. - After DISM completes, run:
sfc /scannow. - Restart the computer once the scan finishes.
Common mistakes people make with SFC and DISM
- Running SFC before DISM on a badly damaged system: SFC will report it cannot repair some files if the component store is broken.
- Skipping the reboot: Repaired files often only take effect after a full restart.
- Running scans in a regular (non-elevated) prompt: Both commands require administrator rights to modify system files.
How do I re-register the Start Menu using PowerShell to fix the critical error?
Re-registering all AppX and shell packages through PowerShell rebuilds the Start Menu’s underlying application registrations. This is the fix that resolves the issue when corrupted or missing shell packages are the cause, and it works even when SFC and DISM report no problems.
PowerShell command to re-register the Start Menu
- Open Task Manager (Ctrl + Shift + Esc).
- Go to File and then Run new task.
- Type powershell and check the box for administrative privileges.
- Paste the following command and press Enter:
Get-AppXPackage -AllUsers | Foreach {Add-AppxPackage -DisableDevelopmentMode -Register “$($_.InstallLocation)\AppXManifest.xml”}
- Wait for the command to finish. Some red error text is normal—those packages have no manifest to re-register and can be ignored.
- Restart the computer and test the Start Menu.
Why IT shops sometimes get this wrong
Many technicians jump straight to a Windows reinstall or reset before attempting this PowerShell fix. The re-registration command repairs the exact component that fails—the shell package registration—without touching your personal files or installed programs.
How do I create a new user profile to fix the Start Menu critical error?
If the error persists across all other fixes, your user profile is likely corrupted. Creating a new Windows user account gives you a fresh profile with clean Start Menu data, while your existing files remain accessible on disk.
How to create a new user profile from Safe Mode
- Restart the PC and boot into Safe Mode with Networking. You can do this by holding Shift while clicking Restart, then navigating to Troubleshoot, Advanced Options, Startup Settings.
- Log in with the built-in Administrator account if your current profile cannot sign in.
- Open Settings, go to Accounts, then Family & other users.
- Click Add someone else to this PC and create a new local account.
- Sign out and log into the new account to test the Start Menu.
Moving files from the old profile
- Navigate to C:\Users\OldUsername in File Explorer.
- Copy documents, desktop files, and downloads to the new profile folder.
- Reinstall any per-user applications that do not transfer automatically.
What should I do if third-party antivirus causes the Start Menu error?
Third-party antivirus shell extensions are a known trigger for Start Menu crashes. Programs that inject hooks into the Windows Explorer process can block or corrupt the shell’s ability to render the Start Menu.
How to identify and remove the interfering antivirus
- Boot into Safe Mode (where most antivirus drivers do not load).
- If the Start Menu works in Safe Mode, your antivirus is the likely cause.
- Boot back into normal mode and temporarily uninstall the antivirus program completely—not just disable it.
- Restart and test the Start Menu again.
- If the error is gone, reinstall the antivirus or switch to Windows Defender, which integrates cleanly with the shell.
Common antivirus programs that have caused this issue
- Avast and AVG (older versions before 2021)
- Bitdefender Total Security (specific builds with shell integration enabled)
- Norton 360 (after major version upgrades)
- Malwarebytes real-time protection layer conflicts with shell hooks
Can I fix the critical Start Menu error with a System Restore or in-place upgrade?
Yes, a System Restore rolls back system changes to a point before the error started, and an in-place repair upgrade reinstalls Windows while keeping all your files and apps. Both are powerful last-resort options before a full reset.
Running System Restore
- Boot into Advanced Startup Options by holding Shift and clicking Restart.
- Select Troubleshoot, then Advanced Options, then System Restore.
- Choose a restore point dated before the Start Menu error began.
- Let the process complete and restart.
Running an in-place repair upgrade
- Download the Windows 10 or 11 Installation Assistant or ISO from Microsoft’s official website.
- Mount the ISO in File Explorer.
- Run setup.exe and choose Keep personal files and apps.
- Allow the installation to complete—this takes 30 to 60 minutes.
- After the upgrade, the Start Menu should be fully functional.
Frequently Asked Questions
Will fixing the Start Menu critical error delete my files?
No. None of the solutions in this guide delete personal files.
Even creating a new user profile keeps the old profile’s data on disk. Only a full Windows reset with “Remove everything” selected will erase files.
Why does the Start Menu error come back after every Windows Update?
Recurring errors after updates usually point to a damaged component store or an incompatible third-party program. Run DISM and SFC after each update and temporarily uninstall any recently added software to isolate the trigger.
Can I fix the Start Menu error without internet access?
Yes. Restarting Explorer, running SFC and DISM from an offline command prompt, and creating a new local user account all work without an internet connection. Only the PowerShell re-registration and in-place upgrade may require downloads.
Is there a Microsoft Start Menu troubleshooter tool?
Microsoft previously offered a Start Menu Troubleshooter for Windows 10, but it has been discontinued and is not available for Windows 11. The manual PowerShell and DISM methods described here replace it effectively.
Does a corrupted user profile mean I need to reinstall Windows?
No. Creating a new user profile resolves profile corruption without reinstalling Windows. Your files stay on disk and can be copied over to the new profile manually.
Final Verdict: Fix the Start Menu Critical Error Without Reinstalling Windows
The “Critical Error: Your Start Menu Isn’t Working” message is frustrating but almost always fixable without a full Windows reinstall. Start with the quick Explorer restart, move to SFC and DISM scans, and then try the PowerShell re-registration if the problem persists.
For stubborn cases, creating a new user profile or running an in-place repair upgrade will almost certainly resolve the issue. Avoid technicians who recommend wiping the system first—these targeted fixes take less time and preserve everything on your PC.