

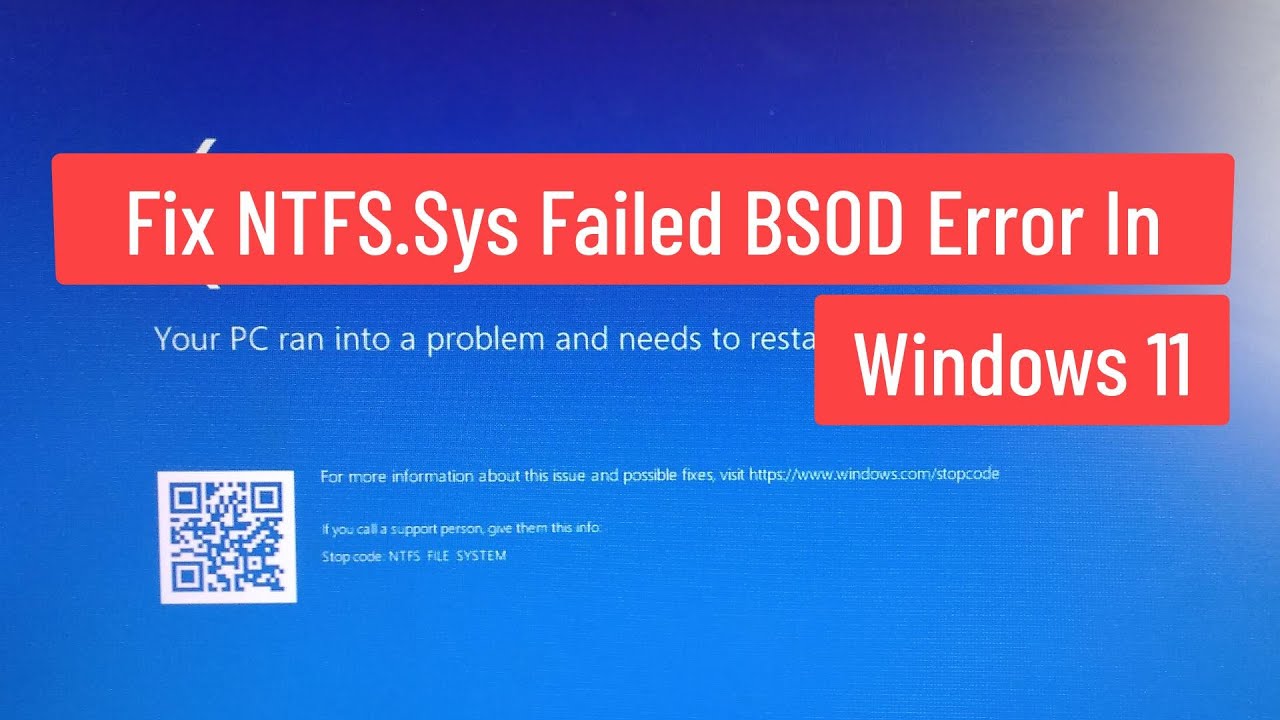
The ntfs.sys BSOD in Windows 11 is almost always triggered by a corrupted file system, a failing SSD or HDD, bad RAM, or outdated storage controller drivers.
Boot into Windows Recovery Environment, run CHKDSK /r C: from the command prompt, then test your memory with Windows Memory Diagnostic.
If the crash started right after a Windows Update, uninstall the latest quality update from WinRE first — that alone fixes it more often than people realize.
What Is ntfs.sys and Why Does It Cause a Blue Screen in Windows 11?
ntfs.sys is the Windows kernel-mode driver responsible for reading and writing to NTFS-formatted drives.
When this driver encounters an unrecoverable error — whether from disk corruption, bad memory, or a conflicting driver — Windows has no choice but to trigger a BSOD to protect system integrity.
You will usually see stop codes like SYSTEM_THREAD_EXCEPTION_NOT_HANDLED, PAGE_FAULT_IN_NONPAGED_AREA, DRIVER_IRQL_NOT_LESS_OR_EQUAL, or SYSTEM_SERVICE_EXCEPTION with ntfs.sys listed as the faulting module in the crash dump.
This tells you the file system driver hit a condition it could not recover from.
What most guides get wrong is treating ntfs.sys as the root cause.
In reality, ntfs.sys is the victim. The real culprit is almost always something underneath it — the disk, the RAM, the storage controller driver, or a Windows update that broke compatibility.
What Causes ntfs.sys BSOD in Windows 11?
ntfs.sys blue screens are caused by disk corruption, failing SSDs or HDDs, defective RAM modules, outdated Intel RST or AMD SATA/NVMe drivers, third-party antivirus interference, or bugs introduced by Windows Updates.
Each cause produces the same stop code but requires a different diagnostic path.
1 Corrupted File System or Disk Errors
The most common cause is file system corruption on your boot drive.
This happens after power loss during a write operation, forced shutdowns, or gradual degradation of an aging SSD. The NTFS metadata structures get damaged, and ntfs.sys crashes when it tries to read them.
2 Faulty or Failing RAM
This is the most misdiagnosed cause.
Bad RAM sectors cause ntfs.sys to read corrupted data into memory, which the driver then cannot process.
Many people replace their SSD when the real problem is a single faulty RAM stick. If you have multiple RAM modules, test them individually.
3 Outdated or Incompatible Storage Drivers
Intel Rapid Storage Technology (RST) and AMD SATA/NVMe controller drivers are notorious for causing ntfs.sys crashes after major Windows updates.
A driver version that worked fine on Windows 11 22H2 might crash on 23H2 because of internal API changes Microsoft never publicly documented.
4 Failing SSD or Hard Drive
SSDs with worn-out NAND cells or HDDs with bad sectors will throw read/write errors that cascade into ntfs.sys failures.
SMART data often shows warning signs weeks before the BSOD starts, but most users never check until it is too late.
5 Third-Party Antivirus Software
Antivirus products that hook into the file system filter stack — especially Avast, Norton, and Kaspersky — can intercept ntfs.sys operations in ways that cause kernel panics.
This is particularly common after Windows Defender definitions conflict with the third-party engine.
6 Windows Update Bugs
Several Windows 11 cumulative updates have introduced ntfs.sys regressions.
The February 2023 and October 2023 updates both had documented issues with NTFS handling that caused blue screens on NVMe drives. Microsoft eventually patched them, but not before thousands of machines crashed.
How to Fix ntfs.sys BSOD in Windows 11 — Step by Step
Start by booting into Safe Mode or Windows Recovery Environment, then work through CHKDSK, SFC, RAM testing, and driver updates in order.
Each step targets a different root cause, so do not skip ahead — the first fix that works is usually the only one you need.
❶ Step 1: Boot into Safe Mode or WinRE
If Windows keeps crashing before you reach the desktop, force-restart three times in a row to trigger Automatic Repair.
From there, go to Troubleshoot > Advanced Options > Startup Settings > Restart and press 4 for Safe Mode. If Safe Mode also crashes, use the Command Prompt from WinRE instead.
❷ Step 2: Run CHKDSK to Repair File System Corruption
Open Command Prompt as administrator (or from WinRE) and run:
chkdsk C: /r /x
The /r flag locates bad sectors and recovers readable data. The /x forces the volume to dismount first.
This scan can take 30 minutes to several hours depending on drive size. Let it complete — interrupting it can make things worse.
❸ Step 3: Run SFC and DISM to Repair System Files
After CHKDSK finishes, repair corrupted system files with these two commands in order:
- ①
DISM /Online /Cleanup-Image /RestoreHealth - ②
sfc /scannow
DISM repairs the component store that SFC uses as its reference.
If you run SFC first without DISM, it may report errors it cannot fix. Always run DISM before SFC for best results.
❹ Step 4: Test Your RAM
Type Windows Memory Diagnostic in the Start menu and choose Restart now and check for problems.
For a more thorough test, use MemTest86 from a USB drive and run at least four passes. If errors appear on a specific module, remove it and test again with the remaining sticks.
❺ Step 5: Update or Roll Back Storage Drivers
Open Device Manager > IDE ATA/ATAPI controllers and Storage controllers.
Right-click your SATA or NVMe controller and select Update driver.
If you recently updated a driver and the BSOD started after, choose Properties > Driver > Roll Back Driver instead. For Intel systems, download the latest Intel RST driver directly from Intel’s site — do not rely on Windows Update for this.
❻ Step 6: Check SSD or HDD Health
Install CrystalDiskInfo (free) and check your drive’s SMART status.
Look for Reallocated Sectors Count, Current Pending Sector Count, and Uncorrectable Sector Count — any non-zero value in these fields means your drive is dying.
For NVMe drives, check the Percentage Used and Media and Data Integrity Errors fields.
❼ Step 7: Uninstall Recent Windows Updates
From WinRE, go to Troubleshoot > Advanced Options > Uninstall Updates and remove the latest quality update.
If the BSOD disappears after this, pause updates for 7 days and check Microsoft’s known issues page before allowing them again.
❽ Step 8: Perform a Clean Boot
If the BSOD is intermittent, a clean boot isolates third-party software conflicts:
- ① Press Win + R, type
msconfig, and press Enter. - ② Under the Services tab, check Hide all Microsoft services, then click Disable all.
- ③ Under the Startup tab, open Task Manager and disable all startup items.
- ④ Restart and observe whether the BSOD returns.
If the crash stops, re-enable services in batches to identify the culprit.
ntfs.sys BSOD After Windows 11 Update — What to Do
If ntfs.sys started crashing right after a Windows 11 cumulative update, uninstall the update from WinRE, then pause automatic updates temporarily.
Check Microsoft’s Windows Health Dashboard for known issues before reinstalling the update.
Microsoft has a history of shipping NTFS-related regressions in cumulative updates.
The safe move is to wait 7–10 days after Patch Tuesday before installing updates — let other users discover the bugs first. You can configure this by going to Settings > Windows Update > Advanced options and setting a 7-day delay for quality updates.
ntfs.sys BSOD on Startup or During Boot — How to Break the Loop
If Windows 11 crashes with an ntfs.sys BSOD before reaching the desktop, force-restart three times to enter WinRE, then run CHKDSK from the command prompt.
If CHKDSK cannot fix it, your boot drive may have physical damage and needs replacement.
When ntfs.sys crashes during boot, the file system metadata required to load Windows is damaged.
If CHKDSK reports it cannot fix the volume, try connecting the drive to another PC as a secondary drive and running CHKDSK from there.
If the drive is not detected at all on another machine, the controller or NAND has failed — this is a hardware replacement scenario.
As a last resort before replacing hardware, try running bootrec /fixmbr, bootrec /fixboot, and bootrec /rebuildbcd from WinRE to repair the boot chain.
This will not fix file system corruption, but it resolves cases where the boot sector itself is damaged.
Frequently Asked Questions
Can a BIOS update fix ntfs.sys BSOD?
Yes, in some cases. BIOS updates from motherboard vendors include NVMe and SATA controller firmware fixes that resolve compatibility issues with Windows 11’s storage stack.
Check your motherboard manufacturer’s support page and install the latest stable BIOS — not beta versions.
Should I reinstall Windows 11 to fix ntfs.sys crashes?
Only as a last resort after trying CHKDSK, SFC, RAM testing, and driver updates. Reinstalling Windows without diagnosing the root cause means the problem will likely return.
If hardware is failing, a fresh install will still crash.
Does ntfs.sys BSOD mean my SSD is dying?
Not necessarily. It could be file system corruption (fixable with CHKDSK), bad RAM, or a driver issue.
Use CrystalDiskInfo to check SMART data before assuming the drive is dead. A healthy SSD can still trigger ntfs.sys BSODs if the file system is corrupted.
Why does ntfs.sys BSOD only happen during gaming or heavy workloads?
Heavy workloads stress both RAM and storage simultaneously, which amplifies marginal hardware failures.
A RAM stick with a single bad cell or an SSD with worn NAND may pass light usage but crash under sustained high I/O. Test RAM with MemTest86 and check SSD health under load.
Can overclocking cause ntfs.sys blue screens?
Absolutely. Unstable CPU or RAM overclocks cause memory corruption that ntfs.sys will trigger on.
Reset your BIOS to default settings and test stability before blaming software. Even XMP/EXPO profiles on RAM can be unstable on some motherboard BIOS versions.
Final Verdict — Diagnose Before You Fix
The biggest mistake people make with ntfs.sys BSODs is jumping straight to a Windows reinstall or buying a new SSD without proper diagnosis.
Work through the steps methodically — file system repair, RAM testing, driver updates, disk health checks — and you will find the root cause in most cases within an hour.
Save the nuclear option of reinstalling Windows for when nothing else works, and only after you have confirmed your hardware is healthy.